This guide outlines the steps for demonstrating and fitting Admetec’s new Master Loupes™ to customers.
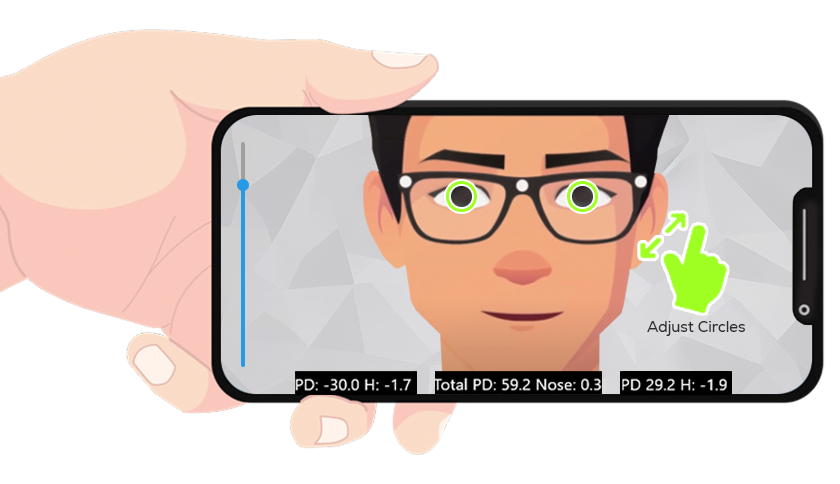
• Start FrameFit™ App: Launch the FrameFit™ app and take a photo to measure the PD.
• Adjust Circles: Position the green circles to align with the pupils. You can enlarge or shrink these circles using the blue bar scale on the left side of the screen.
• Photo Adjustment: For better convenience, enlarge the photo of the customer by pinching to zoom in or out.
• Optional Nosepad Adjustment: For better accuracy, adjust the position of the small circles on the nosepads.
• View Measurements: PD is displayed at the bottom of the screen.
• Begin with a magnification setting of x3.0, suitable for clinicians new to using loupes.
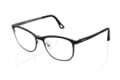
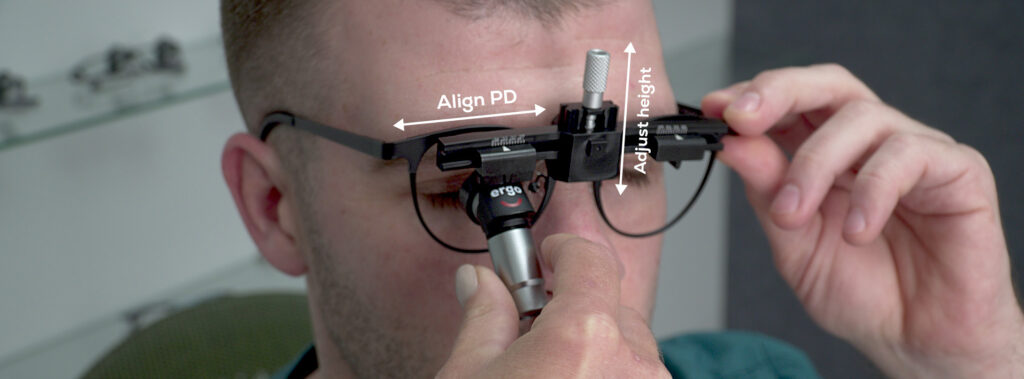
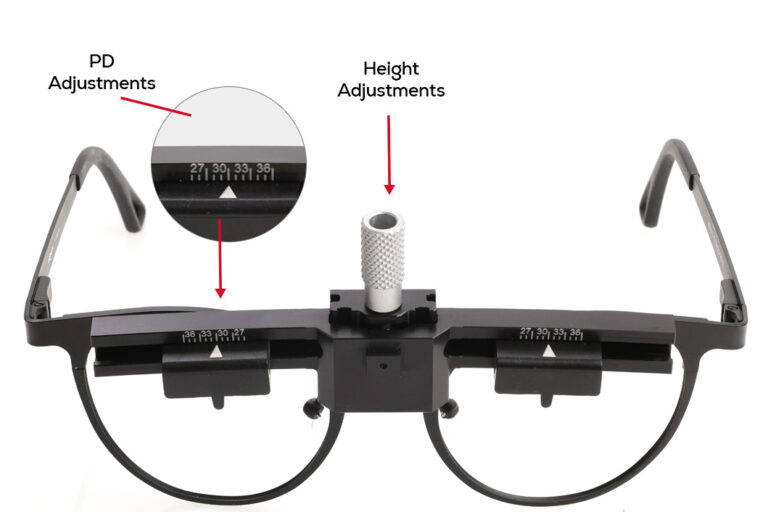
• Align the Master Loupes™ to the measured PD ensuring perfect lens alignment with the customer’s eyes.
• Place the Master Loupes on the customer and check for comfort. Adjust the straps and lenses as necessary.
• Height Adjustment: Adjust the loupes to the customer’s eye level for optimal viewing.
IM4000023.Rev.A